TL;DR:
- A roof inspection checklist provides a structured, repeatable assessment of key components to prevent costly repairs. Regular inspections, including documentation and professional evaluations, are essential for maintaining roof health, warranties, and property value. Homeowners should treat the checklist as an ongoing maintenance tool rather than a one-time task to ensure early damage detection.
A roof inspection checklist is a structured evaluation guide that walks you through every critical component of your roof, from shingles and flashing to drainage systems and attic ventilation, so nothing gets missed. Without one, even a careful homeowner can overlook subtle damage like granule loss on asphalt shingles or a hairline gap in chimney flashing. Those small oversights become expensive repairs. This guide explains what a roof inspection checklist covers, how to use it step by step, and how to build it into a maintenance plan that protects your home and your investment.
What is a roof inspection checklist and what does it cover?
A roof inspection checklist is a section-by-section document that converts a casual visual look into a repeatable, recordable assessment useful for maintenance planning, insurance claims, and repair prioritization. The industry term used by professionals at organizations like the National Roofing Contractors Association (NRCA) and the National Roof Certification and Inspection Association (NRCIA) is a “roof condition assessment form,” but “roof inspection checklist” is the widely accepted working term for both DIY and professional use.
A thorough checklist covers five core categories:
Roofing materials
- Asphalt shingles: check for cracking, curling, cupping, and granule loss in gutters
- Tile or slate: look for cracked, shifted, or missing units
- Flat membrane roofs: inspect for blistering, ponding water, and seam separation
Flashing and penetrations
- Chimney flashing, pipe boots, skylight frames, and roof-to-wall joints
- Flashing at vent pipes and chimneys is the most frequent source of leaks, so continuous sealant contact is non-negotiable
- Check for rust, lifted edges, and gaps at every penetration
Drainage systems
- Gutters and downspouts: clear of debris, properly pitched, and firmly attached
- Scuppers on flat roofs: free of blockage and draining away from the structure
- Pooling water on flat sections indicates drainage failure
Structural components
- Roof decking: check for soft spots, rot, or sagging from the attic
- Fascia and soffit: look for water damage, rot, or pest entry points
- Ridge line: should be straight, not bowed or dipped
Interior and attic
- Water stains on rafters or sheathing indicate active or past leaks
- Daylight visible through the roof deck is an immediate concern
- Ventilation: blocked soffits or ridge vents cause moisture buildup and shorten roof life
Pro Tip: Bring a flashlight into the attic on a sunny day. If you see light coming through the decking, you have a gap that needs sealing before the next rain.
How to use a checklist during the roof inspection process
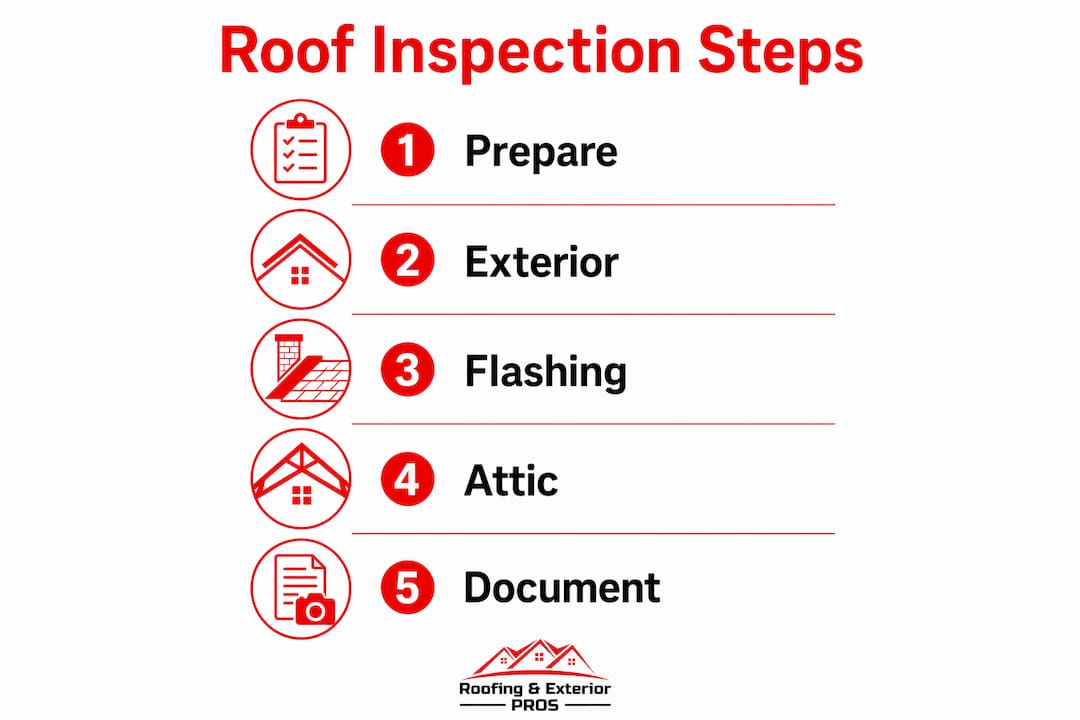
The step-by-step roof evaluation follows a consistent sequence from ground level to rooftop to interior. Skipping steps or working out of order increases the chance of missing damage. Here is the workflow professionals and experienced homeowners follow:
-
Ground-level exterior check. Walk the perimeter with binoculars. Look for missing or damaged shingles, sagging sections, moss or algae growth, and gutters pulling away from the fascia. Note any debris accumulation on the roof surface.
-
Gutter and downspout inspection. Check for granule buildup inside gutters, which signals shingle wear. Confirm downspouts discharge at least four feet from the foundation and are free of clogs.
-
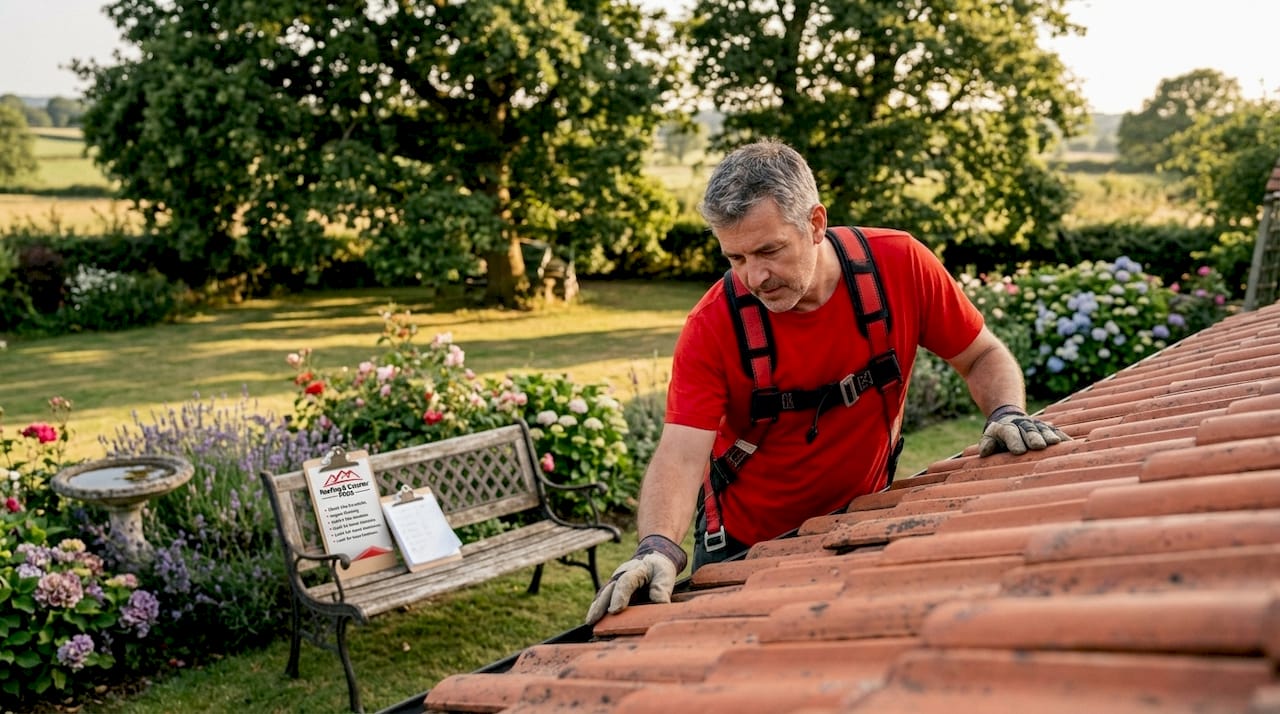
Rooftop inspection (if safe). Access the roof only on a dry, calm day with proper footwear and a secured ladder. Work from the eaves toward the ridge. Check shingle condition, flashing integrity at every penetration, and any areas of standing water on flat sections.
-
Attic and interior check. Inspect rafters, sheathing, and insulation for water stains, mold, or daylight. Confirm ridge vents and soffit vents are unobstructed.
-
Documentation. Photograph every issue you find and note its location on a simple roof diagram. Photographic evidence linked to checklist items creates defensible documentation for insurance claims and contractor quotes.
Pro Tip: Date and label every photo before you close the camera app. “Front slope, left of chimney, 04-15-2026” is far more useful six months later than “IMG_4872.”
Timing matters as much as method. Inspections at least once per year are the minimum standard, with spring and fall inspections being optimal. After any severe weather event, complete a post-storm check within 48 to 72 hours to document damage while it is fresh and before secondary water intrusion worsens the situation.
What common roof problems does a checklist help you find?
A systematic section-by-section approach from ground to attic surfaces problems that a casual walk-around consistently misses. Knowing which issues are urgent and which can wait is what separates a useful inspection from a wasted hour.
Common problems found during inspections:
- Cracked or missing shingles. Wind and hail are the primary causes. Even one missing shingle exposes the decking to water infiltration.
- Granule loss. Heavy granule deposits in gutters indicate shingles are nearing the end of their service life, typically signaling replacement within two to five years.
- Damaged flashing. Rust, separation, or lifted edges at chimneys, skylights, and pipe boots are the leading cause of interior leaks. Interface areas like roof-to-wall joints require the most detailed attention because water finds the smallest gap.
- Clogged or damaged gutters. Blocked gutters cause water to back up under shingles and rot fascia boards. This is one of the most preventable forms of roof damage.
- Ventilation failures. Blocked soffits or a non-functional ridge vent trap heat and moisture in the attic, accelerating shingle deterioration from below and voiding some manufacturer warranties.
- Water stains on attic sheathing. These indicate a past or active leak. Brown staining with a dry surface means the leak has been repaired or stopped temporarily. Active moisture or mold requires immediate attention.
Here is a quick reference for prioritizing what you find:
| Issue | Priority level | Recommended action |
|---|---|---|
| Missing shingles or open flashing | Urgent | Call a certified contractor within days |
| Active water stains or mold in attic | Urgent | Professional inspection and repair immediately |
| Granule loss, minor cracking | Moderate | Schedule repair within the season |
| Clogged gutters, debris buildup | Routine | Clean and clear within 30 days |
| Minor moss or algae growth | Routine | Treat and monitor; plan preventive coating |
Maintaining detailed records of every inspection and repair also pays off at resale. Buyers and their inspectors respond well to a documented maintenance history, and insurers may require proof of regular upkeep when processing storm damage claims. You can read more about early roof failure signs to understand which problems escalate fastest if left unaddressed.
How to build a roof maintenance checklist into your ongoing care plan
A roof inspection checklist works best when it is tied to a schedule, not used only when something looks wrong. Scheduled maintenance that includes debris removal and correct repairs by certified contractors is what GAF recommends to preserve both performance and warranty coverage.
Here is how to build that plan:
- Set a fixed inspection schedule. Spring inspections catch winter damage before summer heat compounds it. Fall inspections prepare the roof for ice, snow, and freeze-thaw cycles. Add an unscheduled check after any storm with winds above 50 mph or hail larger than a quarter.
- Keep a roof maintenance log. Store inspection reports, photos, contractor invoices, and material warranties in one place, whether a physical folder or a cloud folder. This log becomes your proof of care for insurance and warranty purposes.
- Minimize rooftop traffic. Every unnecessary trip across the roof compresses shingles and risks cracking tiles. Limit access to scheduled inspections and necessary repairs only.
- Remove debris promptly. Leaves, branches, and standing water accelerate material breakdown. Clear debris from valleys, gutters, and flat sections after every major storm.
- Know when to call a professional. DIY inspections are effective for identifying visible surface conditions, but post-storm inspections often require infrared moisture scanning or other specialized techniques to detect hidden water intrusion. A certified contractor from a company like Roofing & Exterior PROS brings both the equipment and the trained eye to find what a checklist alone cannot.
Property managers overseeing multiple buildings benefit from a commercial roof maintenance checklist that standardizes the process across all properties and creates a consistent audit trail. The same principles apply whether you manage one home or twenty units.
Key takeaways
A roof inspection checklist is the single most reliable tool for catching damage early, maintaining warranty compliance, and building a documented repair history that protects your home’s value.
| Point | Details |
|---|---|
| Checklist scope | Cover materials, flashing, drainage, structure, and attic in every inspection. |
| Inspection timing | Inspect at minimum once per year, ideally spring and fall, plus within 72 hours after severe weather. |
| Flashing is highest risk | Roof-to-wall joints and penetrations are the leading source of leaks and need the most detailed review. |
| Documentation matters | Dated photos and written notes create records that support insurance claims and repair decisions. |
| Maintenance log | Storing inspection reports and invoices in one place preserves warranty coverage and aids resale. |
What I’ve learned from watching homeowners skip the checklist
After years of working alongside homeowners and property managers in the St. Louis area, the pattern I see most often is this: the checklist gets used once after a storm, then forgotten until the next problem appears. That reactive approach costs far more than the time a twice-yearly inspection takes.
The detail that surprises most people is how much damage originates at flashing, not at the shingles themselves. Homeowners walk outside, look up, see intact shingles, and conclude the roof is fine. But the chimney flashing has been lifting for two seasons, and water has been tracking down the interior wall behind the drywall. By the time a stain appears on the ceiling, the repair bill is three times what it would have been at first detection.
The other pitfall I see regularly is incomplete attic checks. Most homeowners never go into the attic between inspections. A quick look twice a year with a flashlight takes ten minutes and catches moisture problems before they reach the living space. Pair that with a roof inspection before repairs to understand the full scope of any damage before a contractor starts work.
My honest recommendation: use the checklist as a living document, not a one-time form. Add notes, update it after repairs, and treat it as the maintenance record your roof deserves. When you combine that discipline with a professional evaluation every few years, you get a roof that performs to its full rated life and a paper trail that gives you real leverage with insurers and buyers.
— Jake
Get a professional roof inspection from Roofing & Exterior PROS

A thorough checklist gives you a strong starting point, but some damage requires trained eyes and professional equipment to find. At Roofing & Exterior PROS, we provide residential and commercial roofing inspections and repairs across the St. Louis metropolitan area, including St. Charles and O’Fallon, MO. Our certified team works with all roofing materials, handles insurance documentation, and gives you a clear, honest assessment of your roof’s condition. Whether you need a post-storm evaluation or a routine maintenance check, we make the process straightforward and transparent. Contact us today to schedule your inspection and get the peace of mind that comes with knowing your roof is in good hands.
FAQ
What is a roof inspection checklist?
A roof inspection checklist is a structured document that guides you through evaluating roofing materials, flashing, drainage, structural components, and attic conditions in a consistent, repeatable sequence. It converts a visual walk-around into a documented assessment useful for maintenance planning and insurance purposes.
How often should a roof inspection be done?
Inspections should be completed at least once per year, with twice yearly being optimal, ideally in spring and fall. A separate check within 48 to 72 hours after any severe weather event is also recommended to document damage promptly.
What are the most common problems found during a roof inspection?
The most frequent issues include damaged or missing shingles, deteriorated flashing at chimneys and pipe boots, clogged gutters, granule loss, and water stains in the attic. Flashing failures at roof-to-wall joints and penetrations are the leading cause of interior leaks.
Can a homeowner perform their own roof inspection?
Yes. A homeowner can conduct a practical inspection starting with a ground-level exterior check, followed by a rooftop inspection if conditions are safe, and finishing with an attic review. Professional inspections are recommended after storm damage or when infrared moisture scanning is needed to detect hidden water intrusion.
Why is documentation important during a roof inspection?
Dated photos and written notes linked to specific checklist items create defensible records that support insurance claims, help prioritize repairs, and demonstrate consistent maintenance to future buyers or warranty administrators.