TL;DR:
- Temporary roof repairs provide quick, short-term protection to prevent water damage until a permanent solution is implemented. Proper materials, documentation, and timely professional inspection are essential to avoid long-term issues and ensure insurance claims are supported. These fixes are only interim measures; comprehensive assessment and repairs by licensed contractors are necessary for lasting safety and durability.
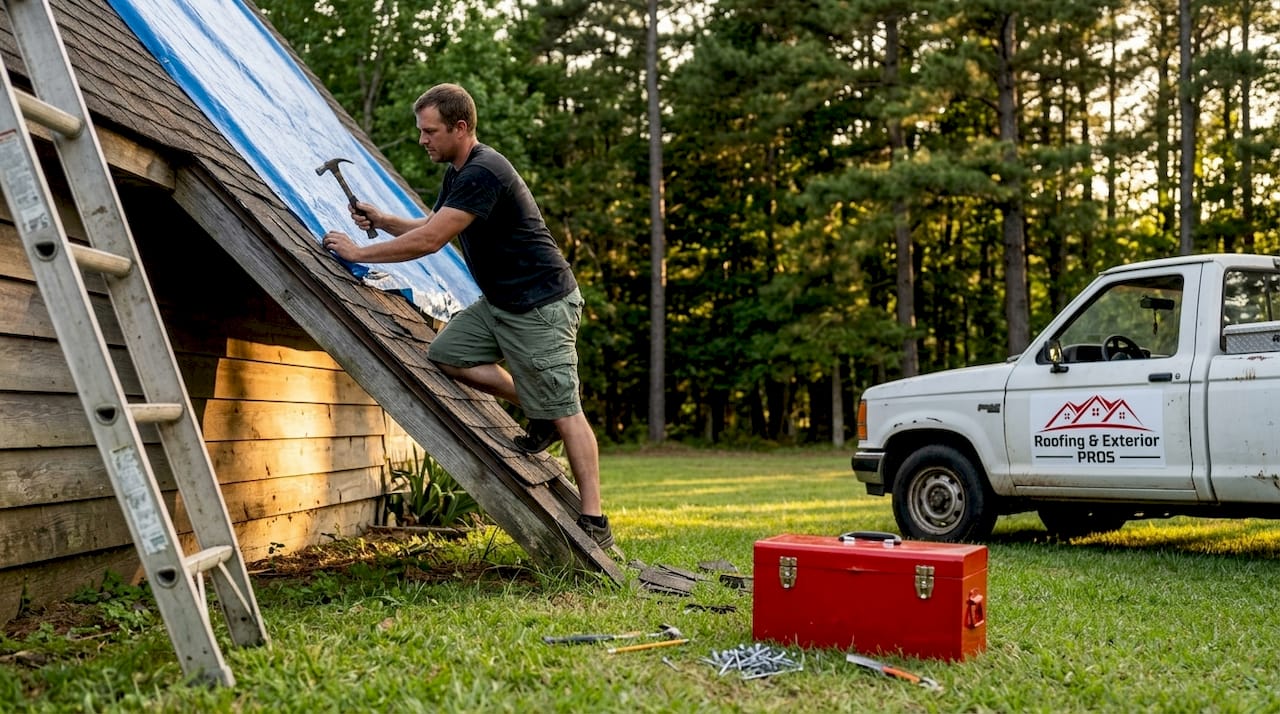
A temporary roof repair is exactly what it sounds like: a short-term fix designed to stop water intrusion and protect your home until a permanent solution can be put in place. When a storm tears off shingles, a falling branch punches through your roof, or a leak suddenly appears during heavy rain, you need to act fast. Immediate temporary measures reduce water intrusion risk and are often necessary to maintain structural safety. This guide walks you through what temporary roof repairs involve, which materials work best, how to document everything for insurance, and when it is time to call in the professionals.
Table of Contents
- Key takeaways
- What is a temporary roof repair and why it matters
- Common materials and methods for temporary fixes
- Documentation and insurance considerations
- Risks and limitations of temporary repairs
- Next steps after a temporary repair
- My take on temporary repairs after years in the field
- Get professional help after any temporary roof repair
- FAQ
Key takeaways
| Point | Details |
|---|---|
| Temporary repairs are stopgap measures | They protect your home from water damage until a licensed roofer completes permanent work. |
| Tarps and roofing cement are most common | These quick roof repair methods vary in durability, so choose based on damage size and weather conditions. |
| Documentation is non-negotiable | Photograph damage before any repair and keep all receipts to support your insurance claim. |
| Hidden water damage is a real risk | Moisture can spread inside your roof assembly far beyond the visible leak point. |
| Permanent repair cannot wait indefinitely | Repeated patching without a professional inspection leads to broader failures and higher costs. |
What is a temporary roof repair and why it matters
A temporary roof repair is a short-term protective measure applied to a damaged roof to stop water from entering a structure before a full, permanent repair or replacement can be completed. It does not restore the roof’s structural integrity or address the underlying cause of the damage. Think of it as a controlled pause. You are buying time, not solving the problem.
The primary goal is straightforward: stop water intrusion and protect your property from escalating damage. Common scenarios that call for temporary roofing solutions include storm damage from hail or high winds, fallen tree limbs, sudden leaks from aging materials, and fire-related roof damage. In each case, the clock is ticking. Every hour that water enters your home increases the risk of damage to insulation, ceiling drywall, electrical systems, and structural framing.
Here is what temporary roof repairs are typically used for:
- Covering exposed decking after shingles are blown off
- Sealing active leaks around flashing, vents, or skylights
- Protecting interiors during the gap between storm damage and contractor availability
- Satisfying insurance requirements to mitigate further damage
Pro Tip: Many homeowner insurance policies require you to take reasonable steps to prevent further damage after a loss event. A documented temporary repair shows your insurer you acted responsibly and can protect your claim.
One critical point: do not confuse a temporary fix with a finished repair. Delaying permanent work after a short-term patch creates compounding problems. Moisture already present in the roof assembly continues to spread, and the surface patch does nothing to stop it.
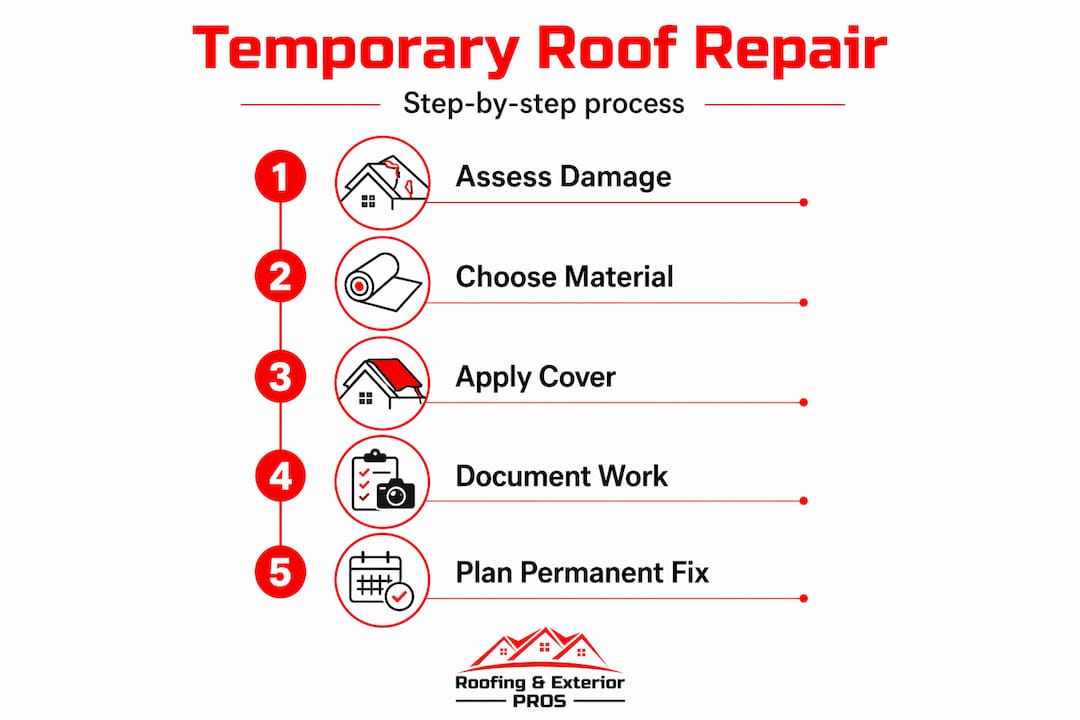
Common materials and methods for temporary fixes
Temporary covers and patches create emergency protection to prevent further damage until permanent repair is completed. The materials you use matter, and so does how you apply them.
Tarps
Roof tarping is the most widely recognized temporary roof covering option. When homeowners ask what is roof tarping, the answer is simple: a heavy-duty polyethylene or canvas tarp is secured over the damaged area to block rain and wind. Tarp installation extending beyond 4 feet around the damaged area is considered an effective temporary fix. Tarps are fast to deploy, widely available, and inexpensive. Their downside is wind vulnerability. A poorly secured tarp can cause additional damage or fail entirely in the next storm.
Roofing cement and sealants
Roofing cement is a thick, asphalt-based compound applied directly to cracks, gaps, or small holes. It works well around flashing, pipe boots, and small punctures. Roofing tape, sometimes called butyl tape, provides a similar seal for seams and edges. These materials are solid choices for localized damage but are not suitable for large areas of missing shingles or significant structural compromise.
Synthetic underlayment and plastic sheeting
Synthetic underlayment is a step up from basic plastic sheeting. It is more tear-resistant and provides better moisture protection. Some synthetic underlayment or liquid membranes can provide extended short-term protection if properly installed. Plastic sheeting is the budget option and works in a pinch, but it degrades quickly under UV exposure and should not be relied on for more than a few days.
Here is a quick comparison of the most common temporary repair materials:
| Material | Best use | Durability | DIY-friendly? |
|---|---|---|---|
| Polyethylene tarp | Large exposed areas | 1 to 6 months | Yes, with caution |
| Roofing cement | Small cracks, flashing gaps | 6 to 12 months | Yes |
| Roofing tape / butyl tape | Seams, edges, small tears | 3 to 12 months | Yes |
| Synthetic underlayment | Broad coverage, better seal | Up to 12 months | Professional preferred |
| Plastic sheeting | Very short-term coverage | Days to weeks | Yes |
DIY repair methods vary in effectiveness and durability compared to professional methods. If you are comfortable working on a roof and the damage is accessible, a tarp or roofing cement application is manageable. For anything involving steep slopes, significant structural damage, or electrical hazards, call a professional for your emergency roof repair.
Pro Tip: When applying roofing cement, dry the surface as much as possible before application. Wet surfaces prevent proper adhesion and the sealant will fail faster.
Documentation and insurance considerations
Getting a temporary fix in place is urgent. But documenting the damage before you start is just as urgent. Photo documentation, detailed receipts, dates, and clear distinction between temporary and permanent repairs are required for insurance claims. Skipping this step is one of the most costly mistakes homeowners make after a storm.
Here is a practical documentation process to follow:
- Photograph everything before touching the roof. Capture wide shots showing the overall damage, close-ups of specific problem areas, and any interior damage like water stains or wet insulation.
- Record the date and time of the damage event. This ties your claim to a specific weather event, which adjusters use to verify coverage.
- Save all receipts for materials and labor. Every tarp, tube of roofing cement, and roll of tape should be itemized.
- Separate temporary repair costs from permanent repair estimates. Detailed itemization and photographic evidence help adjusters verify emergency measures as distinct from final repairs.
- Keep a written log. Note what was repaired, who did the work, and when. If you hired a contractor for the temporary fix, get a written invoice.
“Professionals treat temporary repairs as emergency mitigation evidence and document rigorously to ensure claims support and proper handoff to permanent repairs.” — Property Claim Checklist
A well-documented temporary repair does two things. It supports your insurance claim, and it gives the permanent repair contractor a clear picture of what was done and where. Both matter enormously when you are trying to move quickly and protect your investment.
Risks and limitations of temporary repairs
Here is something most articles on this topic gloss over: a temporary patch stops the visible leak but does nothing about the moisture that may already be inside your roof assembly. Moisture inside roof assemblies can spread laterally, causing recurring leaks elsewhere that surface patches never reach.
Roof leaks often appear in different locations than the actual point of entry because water travels beneath membranes and along framing before it drips through a ceiling. This means the spot you patched may not even be the real source of the problem.
Watch for these warning signs that your temporary repair is no longer holding:
- New water stains appearing on ceilings or walls after rain
- Musty odors in the attic or upper floors, which signal trapped moisture
- Visible sagging in the roof deck or ceiling materials
- The tarp or patch shifting, tearing, or lifting after wind events
- Mold or mildew growth in the attic within weeks of the initial damage
Repeated or prolonged patching risks covering up bigger failures that require broader remediation. Every layer of patch material added on top of a compromised roof assembly makes it harder for a contractor to assess the true extent of the damage. You end up paying more in the long run.
The bottom line: a temporary repair buys you time. It does not buy you safety or certainty. A professional inspection after any temporary fix is not optional. It is the only way to know whether the underlying roof system is still sound.
Next steps after a temporary repair
Once your short-term roof covering is in place, the clock starts on your permanent repair timeline. Here is how to move forward with purpose:
- Monitor the repair after every rain event. Check the attic and affected ceilings for any new moisture. If water is still getting in, the temporary fix needs adjustment or the damage is more extensive than it appeared.
- Contact a licensed roofing contractor within 48 to 72 hours. Most reputable companies offer free inspections after storm events. Use that window to get a professional assessment while the damage is fresh.
- Request a written scope of permanent repair work. This document is also useful for your insurance adjuster and helps you compare estimates accurately.
- Coordinate your insurance claim timeline with your repair schedule. Your adjuster may need to inspect the damage before permanent repairs begin. Confirm this before any work starts.
- Ask your contractor about roof leak repair options that address both the visible damage and any underlying issues identified during inspection.
Temporary roof repair options are not a substitute for professional evaluation. They are the first step in a process that ends with a properly restored roof.
My take on temporary repairs after years in the field
I’ve seen homeowners breathe a sigh of relief the moment a tarp goes up. That relief is understandable. But I’ve also seen that same relief turn into a much bigger problem six months later when a “temporary” patch has been sitting on a roof through three seasons of weather.
In my experience, the biggest mistake is treating a temporary fix as a finished job. Homeowners get busy, the leak stops showing up on the ceiling, and the urgency fades. What they don’t see is the moisture slowly working its way through the decking and into the framing. By the time they call us, what could have been a straightforward repair has turned into a partial replacement.
What I’ve learned is that documentation and speed are equally important. Getting a tarp up fast matters. But photographing the damage first, keeping your receipts, and calling a professional within a few days matters just as much. The homeowners who handle this well are the ones who treat the temporary repair as step one of a process, not as the solution itself.
My honest advice: don’t panic, but don’t get comfortable either. A good temporary fix gives you breathing room. Use that time to get a professional on the roof, not to put the problem out of your mind.
— Jake
Get professional help after any temporary roof repair

At Roofing & Exterior PROS, we understand that roof damage doesn’t wait for a convenient time. That’s why we offer 24/7 emergency roof repair services for homeowners and property managers throughout the St. Louis metropolitan area. Whether you need an emergency tarp installed tonight or a full assessment after a storm, our team responds fast and works with transparency every step of the way.
We also help you navigate the insurance process. Our team documents damage thoroughly and works alongside adjusters to support your claim from start to finish. When you are ready to move from a short-term patch to a permanent solution, explore our full range of residential and commercial roofing services. We offer free roof inspections, and we are always ready to give you a straight answer about what your roof actually needs.
FAQ
What does a temporary roof repair involve?
A temporary roof repair involves applying materials like tarps, roofing cement, or synthetic underlayment to stop water intrusion until a permanent fix is completed. It is a short-term protective measure, not a structural solution.
How long does a temporary roof repair last?
Durability depends on the materials used and weather conditions. Roofing cement and quality tarps can last several months, while some synthetic underlayment can provide protection for up to a year when properly installed.
Can I do a temporary roof repair myself?
Yes, for accessible and limited damage, DIY methods like tarping or applying roofing cement are manageable. For steep roofs, large damage areas, or anything involving structural compromise, a professional emergency roof repair is the safer choice.
Does insurance cover temporary roof repairs?
Most homeowner policies cover reasonable temporary repair costs as part of your mitigation obligation. Keep all receipts and photograph the damage before starting any work to support your claim.
When should I stop relying on a temporary repair?
If you notice new water stains, musty odors, sagging materials, or the patch shifting after wind, your temporary fix is no longer sufficient. Schedule a professional inspection immediately to assess the full extent of the damage.